BMYS x Andrea Mowry x Spincycle 2024 Event!

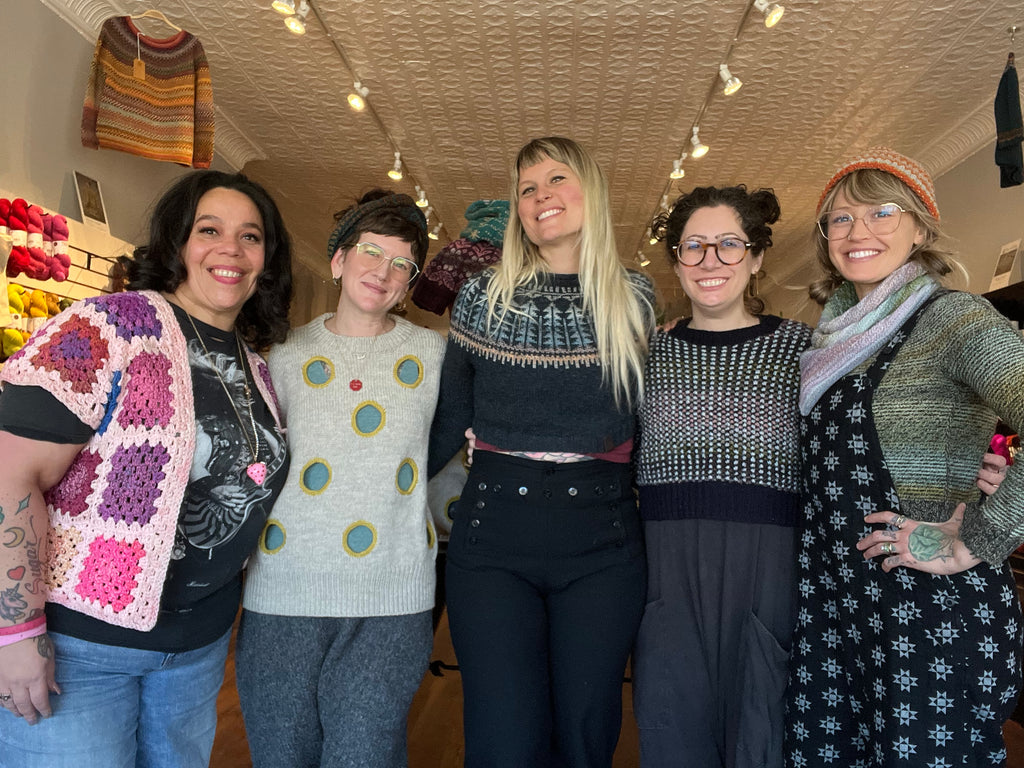
In January, we celebrated our shop’s 14th anniversary and invited Andrea Mowry, and the Spincycle ladies, Rachel Price and Kate Burge, to BMYS. We had the best time with all of you who attended and we can’t wait for future events with all our lovely customers!
Here’s a few of the highlights from the event, as well as an overview of the different activities we scheduled, in case you’re interested in attending one of our events in the future.

On Thursday, January 18, we picked up our guests from the airport and were in full event preparation mode. We cleaned the shop, restocked the shelves, put up event signage and welcome signs, and created displays with our brand new custom color from Spincycle, First Light! First Light is inspired by the sunrise over the Blue Ridge Mountains that surround us here in Western NC. We were lucky enough to have Kate herself dye our newest custom color, and we were so happy with the warm welcome it received!

On Friday, January 19, we got to the shop early to prep for our first day of activities! Maggie bought flowers from Trader Joe’s and arranged them into 3 beautiful bouquets to display around the shop. We were kept busy all day with packing orders of First Light and getting them shipped off to their new homes.

We closed an hour early on Friday to set up the second half of the shop for Knit Night with Andrea and the Spinsters: our first ticketed event of the year! We re-arranged the tables by the living room, set up a snack platter and water station, and Andrea set up all of her samples on our sample racks for attendees to get inspired by.

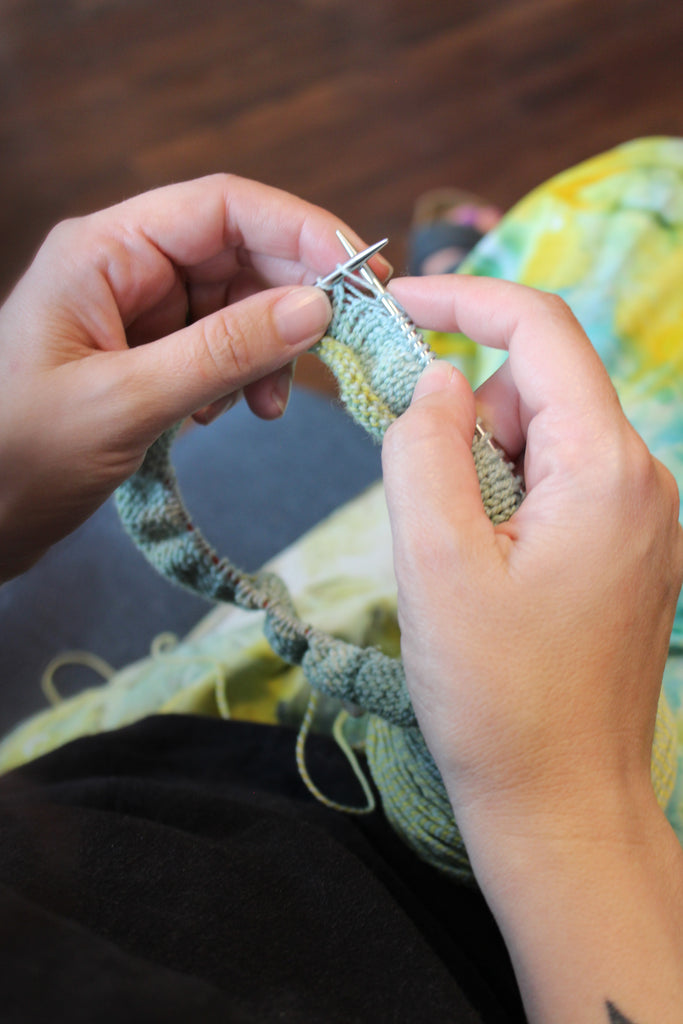
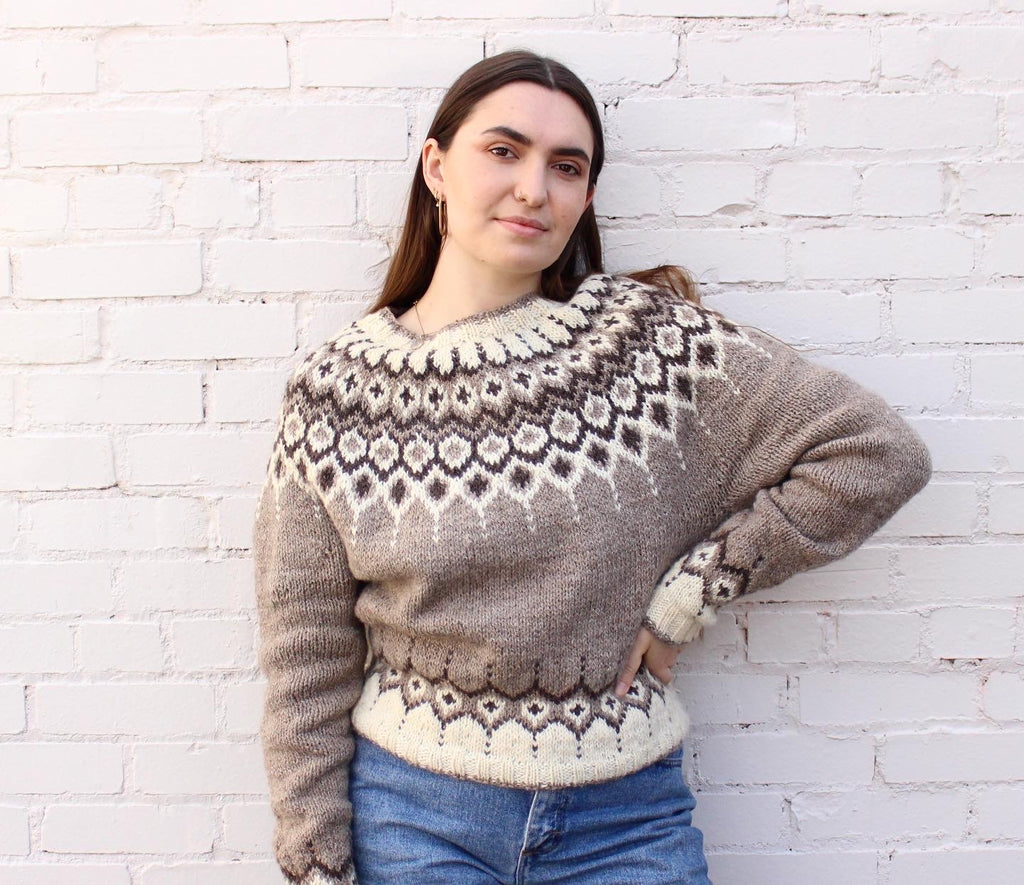
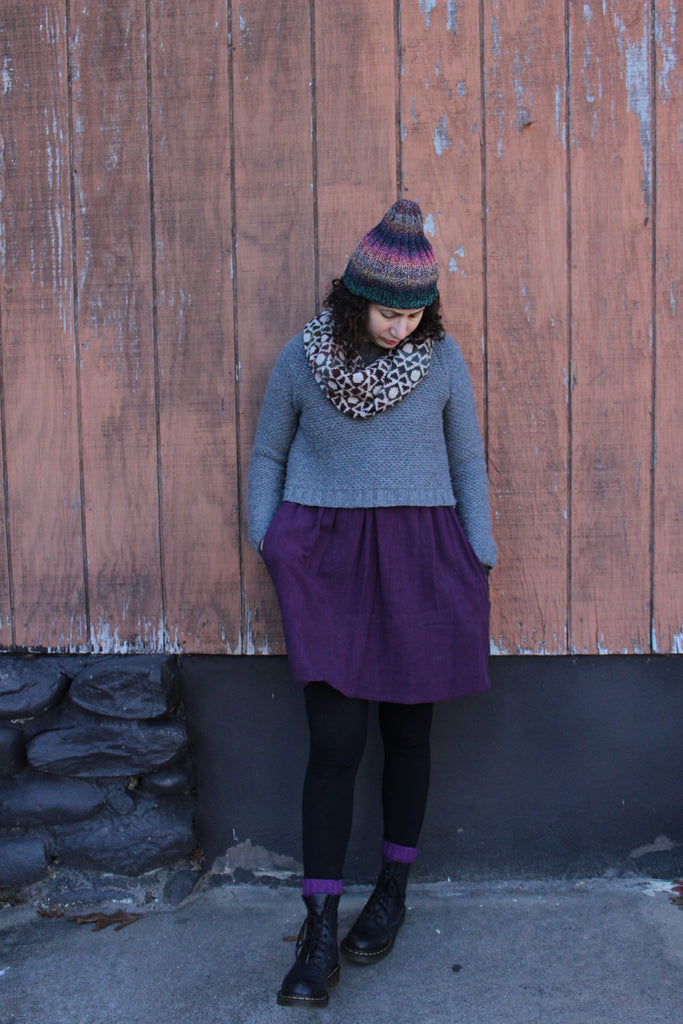
Once it hit 6 pm, Maggie checked attendees in at the front door and everyone gathered in the living room with Andrea, Rachel, and Kate. Andrea started off knit night by going around and having everyone introduce themselves, and talk about the hand-knit pieces they were wearing! Some guests even had as many as 4 Andrea Mowry designs incorporated into their outfits, and others were wearing hand sewn pieces as well as knits. After everyone was introduced, we handed out a game of This or That for attendees to fill out, trying to guess what Andrea, Rachel, and Kate would each answer. The attendee that got the most correct for each, won a skein of First Light and a few other goodies, picked out by us! Overall, we had such a great time at Knit Night and loved getting to know everyone who attended.


After all of our guests left for the evening, we cleaned up and re-set the shop to get ready for the following day.
On Saturday, January 20, we prepped for another full day. At 11 am, guests arrived for Andrea’s ‘I’ll Knit if I Want to’ workshop and checked in before heading upstairs. For this workshop, guests submitted their questions for Andrea online beforehand so Andrea had prepared her answers, and also gave opportunities to ask additional questions.
We closed early at 3 pm on Saturday instead of 4, to give us time to prepare for shopping appointments starting at 4. We had prepared name tags and a goodie bag for each customer who had booked a shopping appointment, and appointments were available for Andrea, Rachel and Kate. Each shopping appointment lasted 15 minutes, but some people chose to book consecutive appointments to give themselves plenty of time to shop!
On Sunday, January 21, we had shopping appointments scheduled from 11 am - 2 pm and the shop was closed to the public. We want to say a huge thank you to everyone who attended the event and celebrated our shop’s anniversary! We appreciate and love you all <3
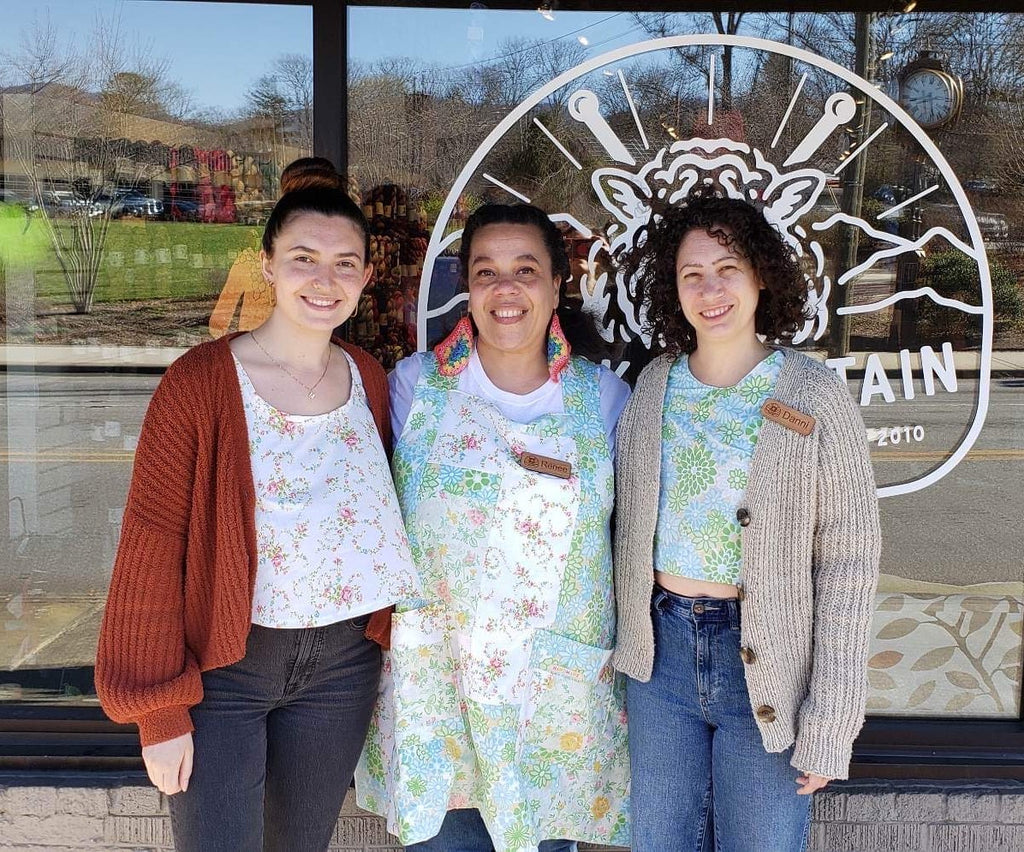
written by Maggie Kent
Continue reading