Our Favorite Knitting Tips!

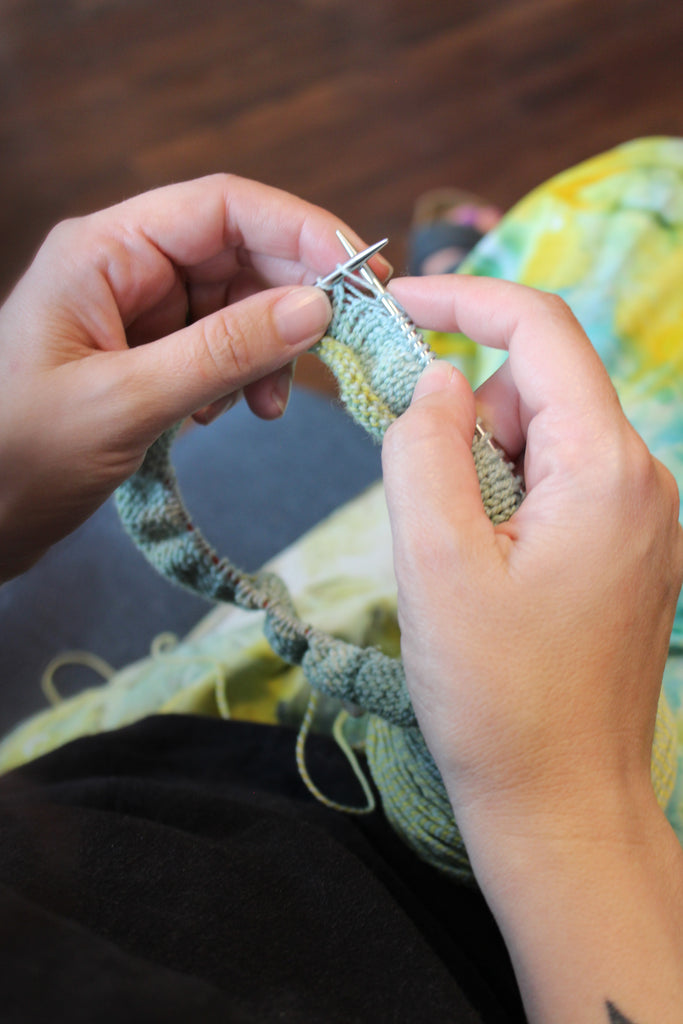
This week we (the BMYS ladies) thought we would share some of our most helpful bits of knowledge about knitting. These are the techniques that we use regularly or the information that we feel is essential for us as knitters!
Pattern Reading:
The main key to reading any knitting pattern is knowing the abbreviations that are used in the pattern you’ve chosen. Each pattern will have different abbreviations depending on the techniques used to make the design. The most common pattern abbreviations are as follows:
K = Knit
P = Purl
Pm = place (stitch) marker
Rm = Remove (stitch) marker
Sm = Slip (stitch) marker
The most common decrease stitch abbreviations are:
SSK = Slip, Slip, Knit
K2Tog = Knit 2 together
P2tog = Purl 2 together
You also may see some abbreviations for stitch increases. The most common of these include:
KFB: Knit through the front and the back loop
M1R = Make 1 Right (This creates a new stitch with a lean to the right)
M1L = Make 1 Left (This creates a new stitch with a lean to the left)
Needles:
Sizing:
Inevitably, as we become more entrenched in knitting, we will have to invest in some needles. Needle sizes are labeled differently depending on where they are from, and patterns will use different units to describe their needles. The US uses one system of needle labeling, while the UK uses another, and other countries typically use the metric system of sizing to describe needles. This can be confusing, especially if you are used to one way of sizing but you buy a pattern from a designer who uses a different method. To help ease the process, I’ve made a needle conversion chart to reference if needed.
Knitting needles, like most other tools, come in a variety of materials. The most common materials you will see knitting needles made from are wood, metal, and plastic. When I first started knitting, I didn’t think that the material the needle was made from made any difference, so long as I had the right size. This isn’t exactly the case.
Wooden or bamboo knitting needles are typically the best for beginners, but many experienced knitters also prefer them to metal or plastic. Wood needles provide a little bit more grip for your yarn than the other options, and therefore make your stitches less likely to slip off while you’re working.
Metal needles are sometimes preferred by more experienced knitters because their slippery surface allows you to knit faster than wooden needles. Metal needles are the most durable of all the types, which I didn’t think mattered much until I snapped a pair of my wooden needles in half while knitting socks. Now, I buy all my smaller needle sizes in metal so I won’t have to keep buying the same set over and over.
Yarns:
There are generally three factors you want to consider when picking out a yarn for a specific project (if you aren’t using the exact yarn listed in the pattern).
First is the yarn weight. Weight simply refers to how thick a single strand of the yarn is. The most commonly found weights, listed from smallest to largest, are as follows:
- Fingering
- Sport
- DK
- Worsted
- Aran
- Bulky
- Super Bulky/Roving
- Jumbo/Rug
While there are no hard and fast rules of what weight of yarn you can use for any given project, there are weights of yarn that are generally used for specific types of knitwear. For example, fingering weight is often used for knitting socks, while bulky is often used for sweaters. That being said, DK, Worsted, and Aran weights can be used for a wide range of projects and are extremely versatile.
Next, you want to consider the fiber content of your yarn. Depending on what you want to make, different fibers may be more effective for your chosen project. First you should decide if you want to use a natural or synthetic fiber. Natural fibers are derived from either plants or animals and include wool, silk, cotton, and linen. Synthetic fibers are man-made and include acrylic, polyester, and rayon. Most synthetic yarns you find will be composed of acrylic fiber. Many people do opt for acrylic yarns when starting to knit, simply because they are more cost-effective than most natural fibers. However, it is worth noting that natural fibers have a much smaller environmental impact than synthetic fibers, and will create a higher-quality garment, regardless of the skill of the maker.
Ultimately, the fiber you choose should inspire your entire project, and you should be totally and completely in love with it.
Lastly, you need to pick a color. This might be the most fun part of picking out a yarn for your project, and can definitely be the most inspiring. Obviously, you can just pick any color you like and go with it, but there are a few things worth considering. If you are a beginner, it can be easier to start knitting with lighter colors because they make it much easier to see your stitches and keep track of where you are in your work. You don’t need to choose a white or pastel necessarily but perhaps stay away from blacks, extremely dark browns, or blues until you’ve mastered your basic stitches.
Additionally, there are some really awesome naturally dyed yarns out there, as well as undyed yarns, which I love because they preserve the original color of the fiber animals they came from. Maybe you even want a multicolor yarn! There’s no shortage of options.
Finding your gauge:
When I started knitting, the concept of gauge terrified me. I’m not always great with technical things, and I’m also very impatient, so the idea of having to do a mini-project before my actual project wasn’t very appealing. Ultimately, not every project will need a swatch. Of course, you can swatch for every project if you’d like to, but for some, it may not be needed. For example, hats, which are often one size fits all, may not always need a swatch, while sweaters most likely will. The more size-specific your item is, the more beneficial a swatch will be for your project planning.
How to swatch:
All you need to do to swatch is knit a flat, 4in by 4in square in the stitch pattern of your chosen pattern. Your pattern should tell you what stitch they used for their swatch, and how many stitches they got within their square. How many stitches you need to cast on to get 4 inches will depend on your yarn as well as the stitch you are using. Here is a link to my favorite Youtube video for learning to swatch for gauge.
What to do if your gauge doesn’t match
Fact of the matter is, your gauge won’t always match the gauge listed in your pattern. The first time this happened to me, I wasn’t really sure what to do. The solution is actually pretty simple. If you get fewer stitches than the listed gauge, meaning your gauge is larger, just go down a needle size (use a smaller needle) and swatch again. If you get more stitches than the listed gauge, meaning your gauge is smaller, go up a needle size (use a larger needle) and swatch again. That’s really all there is to it!
Our favorite tips for success!
Maggie:
- Always block your swatch when substituting for the yarn in the pattern, and check your row gauge too.
- If you cast on really tightly, hold 2 needles together and cast on over both of them. At the end, remove one of the needles. This will help loosen up your stitches and make knitting your first round much easier.
- Learn how to “tink” or go back on your stitches one by one. This will make it so you can fix your mistakes instead of ripping out all your work.
Renee:
- Use metal needles!
- Be fearless, and don’t be afraid to make mistakes; they are what makes your project unique.
- When making granny squares, flip your square over after every round to stop your square from leaning to the right
Danni:
- Use stitch markers liberally. Don’t be afraid to put multiple throughout your row to keep track of your cast-on number, increases/decreases, or your stitch pattern.
- If you’re using fuzzy yarn, like mohair, put it in the freezer for a few hours before you plan to wind it or use it. This will keep it from sticking to itself as much.
- When working with brioche stitch, put in lifelines every so often so if you make a mistake, you can just pull back to your last lifeline and not have to start over.
Of course, there’s a lot more to knitting than anyone can cover in one blog post, but I hope that this overview was helpful to beginners and experienced knitters alike. Feel free to reach out with any additional questions you might have that I didn’t cover above!
written by Maggie Kent