De-Clutter your Craft Space

If you work with fiber or fabric, chances are your craft space can get pretty chaotic and overwhelming when you’re working on a project, or have been crafting in the same place for a long time. As the spring cleaning season approaches, we want to encourage you to take a mindful approach to re-organize and de-cluttering your stash. Clearing out old items and organizing what you have can be a meditative process, so make yourself a cup of tea and let’s begin.
Not all of us are lucky enough to have an entire room dedicated to crafts. Personally, I have a craft room that doubles as an office and a guest room. I use an old bookshelf that I got for free to store most of my yarn, and a woven basket to store all of my scraps or half-skeins. My favorite yarns to collect are the super-rustic, scratchy, undyed yarns that still smell strongly of sheep. They remind me of my family’s farm and my childhood. As most of you probably know, Renee collects mostly pink yarns (and fabrics), while Danni loves anything Spincycle.
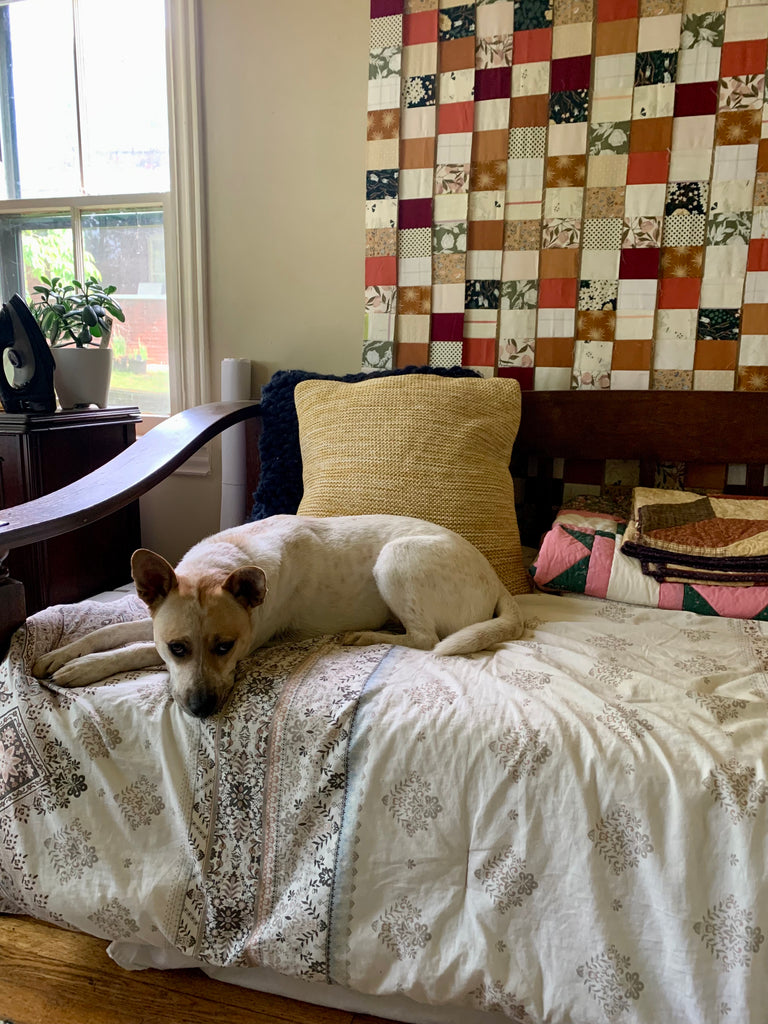
Check out our craft rooms before we did our clean-up.


Keeping in mind what you love most about your craft supplies and your organization preferences, think about your goals for your crafting space. How much room do you have for your supplies? Do you find it easier to organize your yarn by color, brand, or weight? Do you like your materials out in the open, or tucked away out of sight? Look at some pictures of craft rooms you love, but also consider how you would add your own personal touch while making the most of your space. For example, I know that I love the open shelving, and being able to see my craft supplies. This helps me get inspiration for new projects. I also prefer to organize my yarn by weight and by color, because I won’t typically make a project using two different weights. This organization technique helps me to see which color combinations I have available in each weight.
De-Cluttering and Donating:
The first step to making your craft space fresh again is going through what you already have and weeding out the things you don’t use. For me, this means going through my yarn collection and weeding out the colors I don’t like or won’t wear, the acrylic yarns that I will never use to knit anything for myself, or scraps that I can’t think of what to do with. This process will be different for everyone depending on the type of craft you practice as well as your personal preferences for craft materials. When you’re de-cluttering, grab a large box or bin to put all your unwanted materials into. Don’t throw away your scraps! Instead, set them aside in their own box/bag, they can be donated as well.
With de-cluttering comes the issue of what to do with all the stuff you’ve just decided to de-clutter. This is where responsible donation comes in. Responsible donation doesn’t just mean giving all of your stuff to your local Goodwill or Salvation Army. Instead, look for an organization like The Scrap Exchange in Charlotte, NC. The Scrap Exchange is a Non-profit craft supply donation service that focuses on the reuse of craft supplies rather than recycling. FabScrap, based in New York City and Philadelphia, is a similar service but is limited to fabric only. The ReCraft Center in Greenville, SC also takes donations of craft supplies with a focus on re-use. They sort through craft donations and then redistribute those materials to schools and festivals, makers and crafters, and professional artists.
Organization and Storage:
For small spaces:
If your craft room happens to be just a corner of your living room couch, then here are some storage tips that might help make your life a little easier. Consider getting a thin bookshelf that you can push snugly into a corner and store the majority of your supplies. If you don’t have any more floor space, a pinboard or wall shelving may be the solution to your problems. If your landlord doesn’t allow you to put nails in the wall, try stacking a few milk crates on top of one another to create a small shelving unit. Open shelving isn’t everyone’s thing, so if you have some room under your bed or in a closet, oftentimes shoe storage racks can be the perfect solution. See if you can find something that hangs over the back of a door, or zips up and neatly slides under the bed. This way, you will avoid your small space from looking overly cluttered.
For larger spaces:
If you have an entire room dedicated to your craft practices, that’s great! You have a lot more options when it comes to storage. Many crafters I know like to store overflow supplies in bins or large chests and keep the supplies they plan to use sooner on open shelving or in a cabinet with glass panels. You can also install a pegboard or corkboard above your crafting table or sewing machine with knitting swatches, fabric samples, and cute pictures. Make your own mood board of sorts that’s specifically tailored to your creative style. You can also do this with a smaller space if you have room!
In terms of shelving, some wine racks can make for interesting and useful display pieces. There are wall-mounted and standing shelving units, as well as floating shelves if that’s more your style. A large set of drawers or cabinets can also work if you want to keep your materials out of sight.
Here are some pictures of our spaces after our clean-up!


Here at BMYS, we love our yarn collections almost as much as we love to craft. We have yarns from advents, events, and special occasions that are sentimental as well as useful. Share your yarn stash with us on Instagram @BlackMountainYarnShop!
written by Maggie Kent
